This article demonstrates how to establish a connection of ServiceNow with Quickwork.
What you'll need:
Skill level: Easy
Time required: 3 minutes
- ServiceNow Developer account
- An instance created in the ServiceNow Developer account
To connect your ServiceNow account with Quickwork, follow these steps:
- Go to Quickwork and choose the ServiceNow app from the App drop-down field under the Event or Steps section.
- Choose a trigger or action of your choice.
- Click on the Link an account button to establish a connection.
- The Connect to ServiceNow window will pop up asking you to enter the Username, Password, and Subdomain of your ServiceNow account:

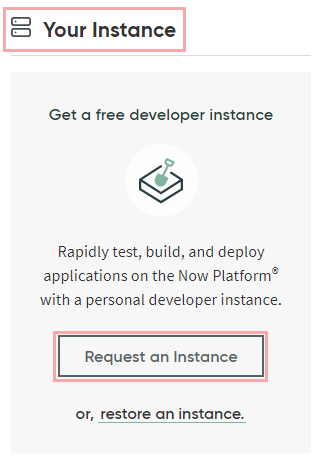
- To get these credentials, log in to your ServiceNow Developer account. Assuming that you are yet to create a ServiceNow Developer instance, click on the Request an Instance button under the Your Instance section on the left-hand side panel:
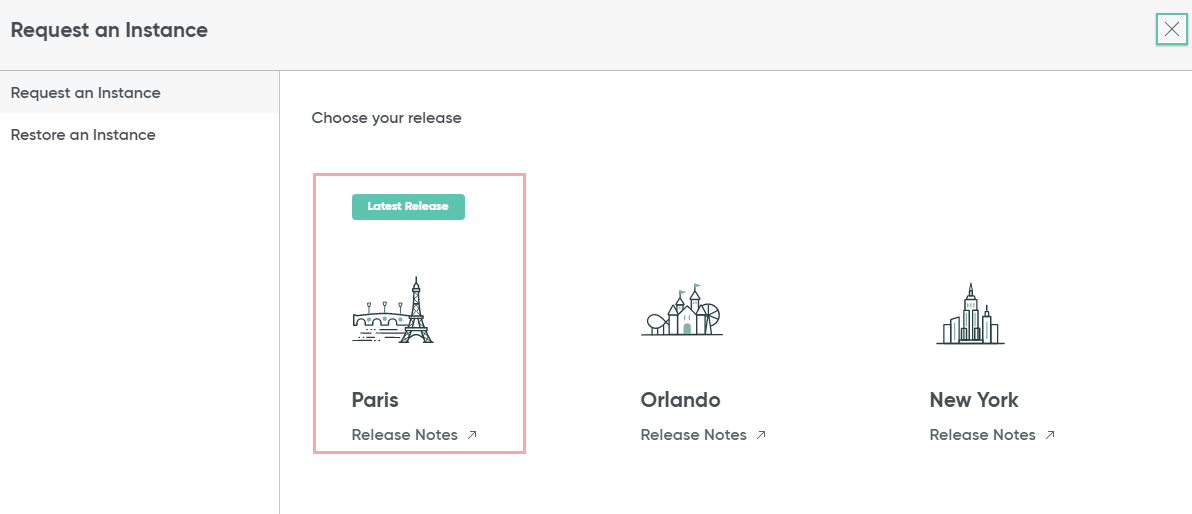
- Next, choose your location where you want to deploy the instance and click the Request button at the bottom of the page:
- The server will take some time to create your requested instance and once the instance is created successfully, you'll be prompted with a confirmation screen. This screen contains the instance URL and username and password to log in to your instance. Immediately make a note of these credentials as it gets disappear upon switching the tabs:
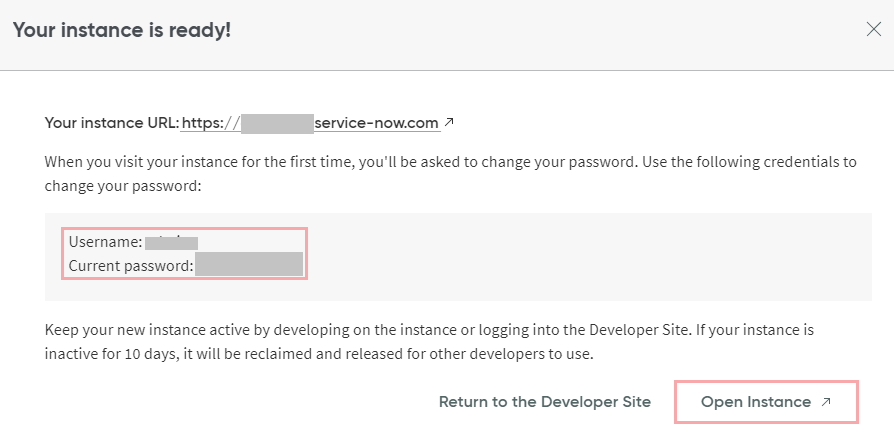
Note: When you click the Open Instance button, you'll be asked to log in to the instance using these credentials - Specify the instance username and password in the Username and Password field of the Connect to ServiceNow window. In the above instance URL, dev85641 is your ServiceNow subdomain. Specify the same in the Subdomain field:

- Click the Link account button. Your ServiceNow account will get connected successfully.
Comments
0 comments
Please sign in to leave a comment.