This article demonstrates how to establish a connection between Gmail Secondary and Quickwork.
What you'll need:
Skill level: Intermediate
Time required: 10 minutes
- Personal Gmail account
- A project in the Google cloud platform
- Accurate copy-pasting
To connect your Gmail Secondary account with Quickwork, follow these steps:
- Go to Quickwork and choose the Gmail Secondary app from the App drop-down field under the Event or Steps section.
- Choose a trigger or action of your choice.
- Click on the Link an account button to establish a new connection.
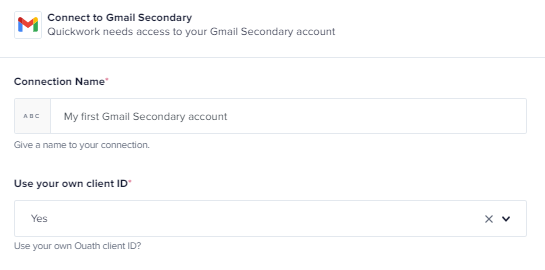
- The Connect to Gmail Secondary window will pop up containing the Client ID and Client secret fields:
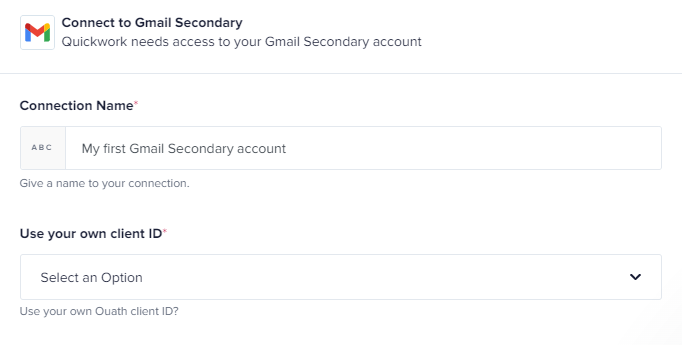
- Select Yes for the Use your own client ID field since we are going to use a client ID and client secret generated for our specific personal Gmail account.
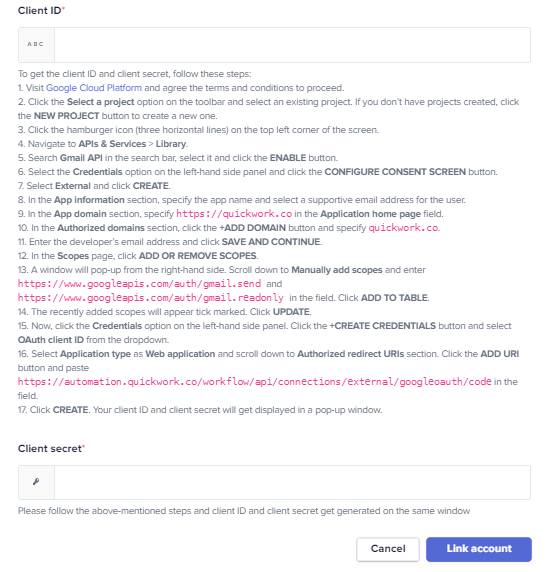
- To get the Client ID and Client secret, there is a lengthy procedure to follow right from creating a project to enabling the API and adding the scopes. Follow the below steps to get started:
- Visit the Google Cloud Platform website. If you are visiting for the first time, agree to the terms and conditions to proceed.
Note: Make a note of the Gmail account you have signed in to the Google Cloud Platform. You'll need to sign in again through the same Gmail account for establishing a connection once you specify the client ID and client secret. - Now, click on the Select a project button located beside the search bar. The project window will open up displaying a list of projects you have created earlier:
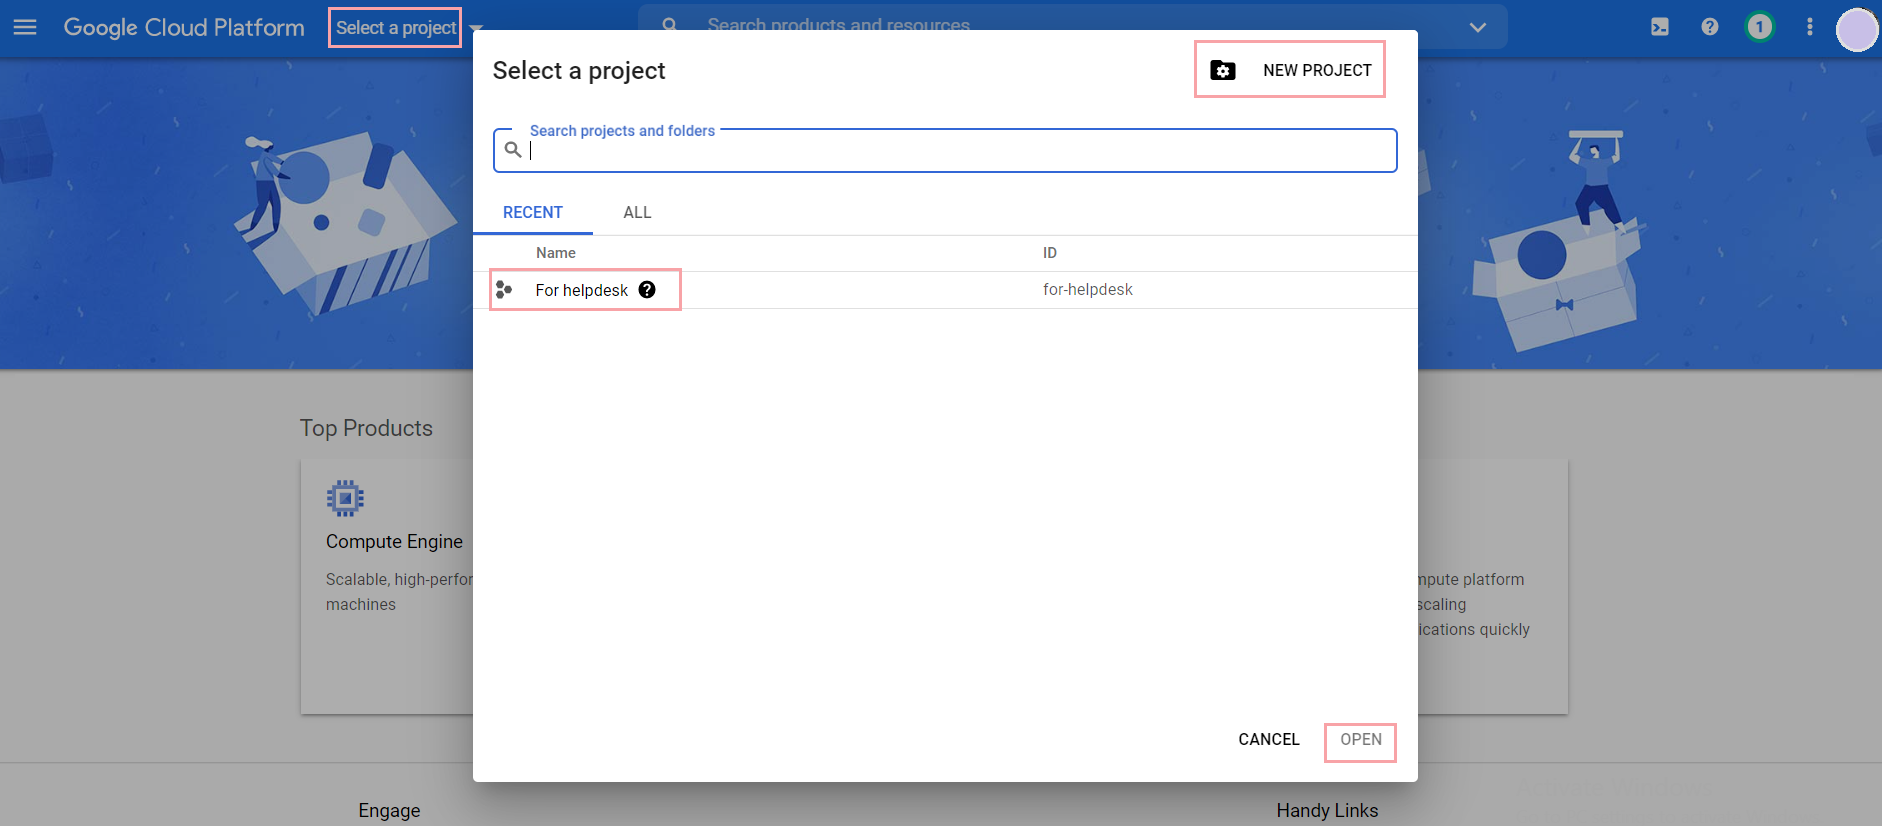
- Select a project of your choice and click the OPEN button. In the case of no projects in your account, click the NEW PROJECT button, give a name to your project, and click the CREATE button. Then select it and click the OPEN button.
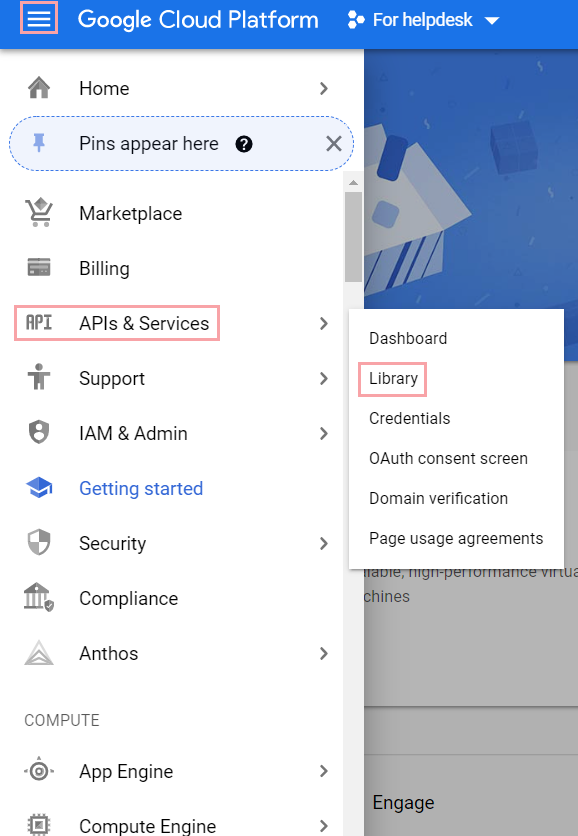
- Click the hamburger icon (three horizontal lines) on the top left corner of the screen. Then navigate to APIs & Services > Library:
- Type
Gmail APIin the search bar and click the Gmail API option as highlighted in the following image: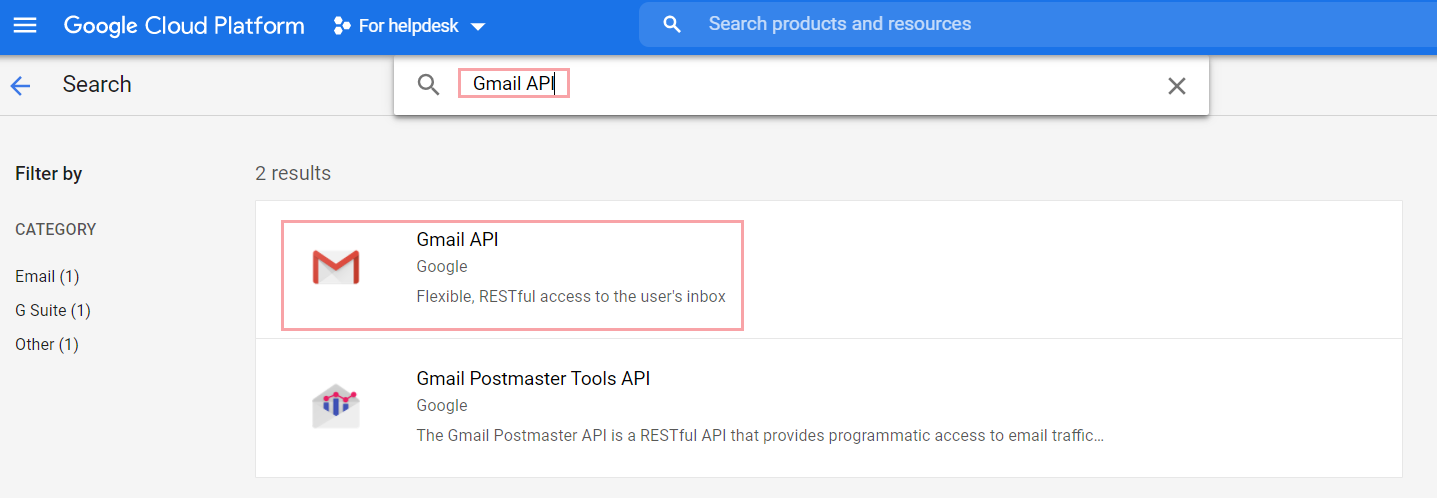
- Click the ENABLE button to enable the Gmail API service. As soon as you do this, you'll be redirected to the APIs & Services window. In this tab, you need to configure the domain and add respective scopes. To do so, select the Credentials tab and click the CONFIGURE CONSENT SCREEN button:
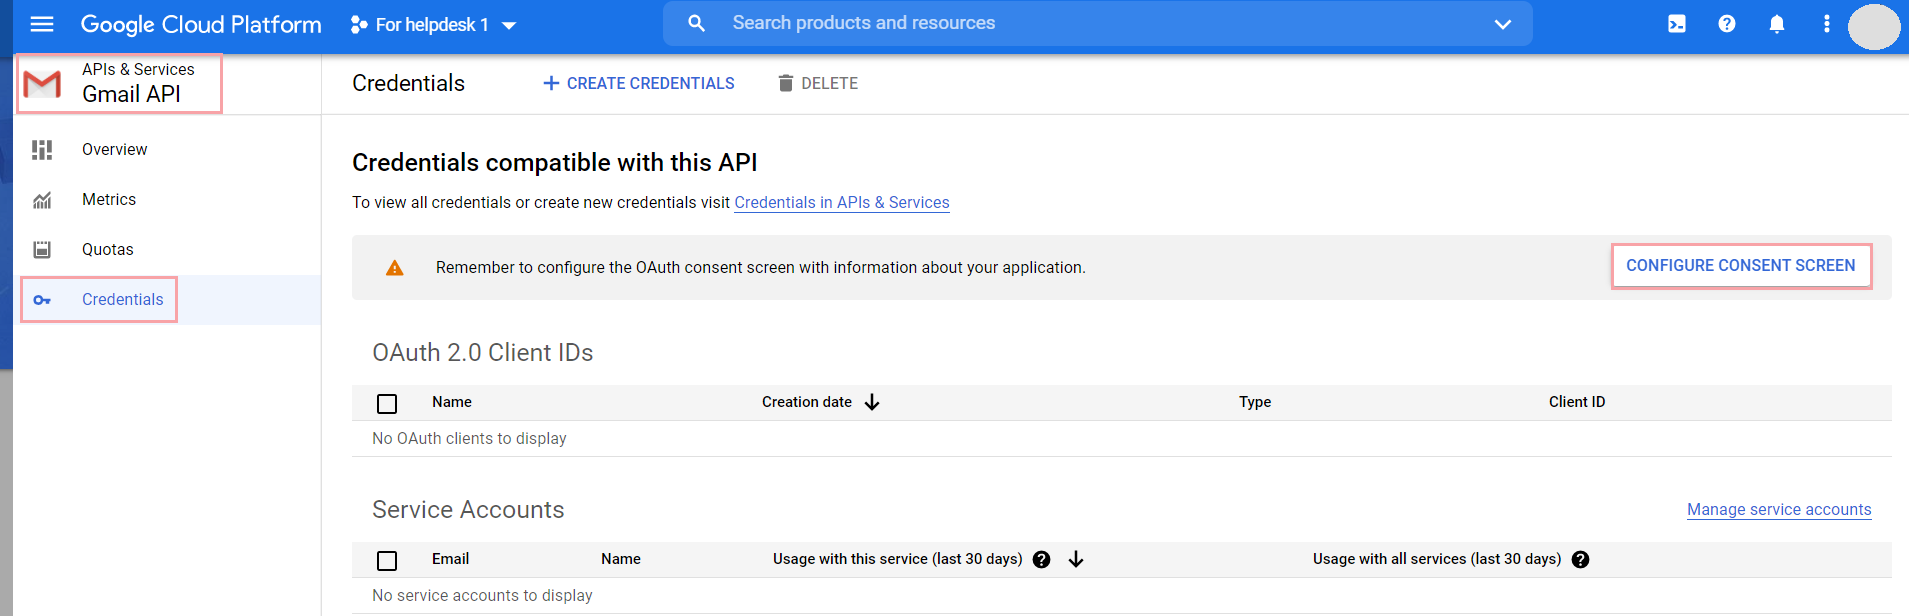
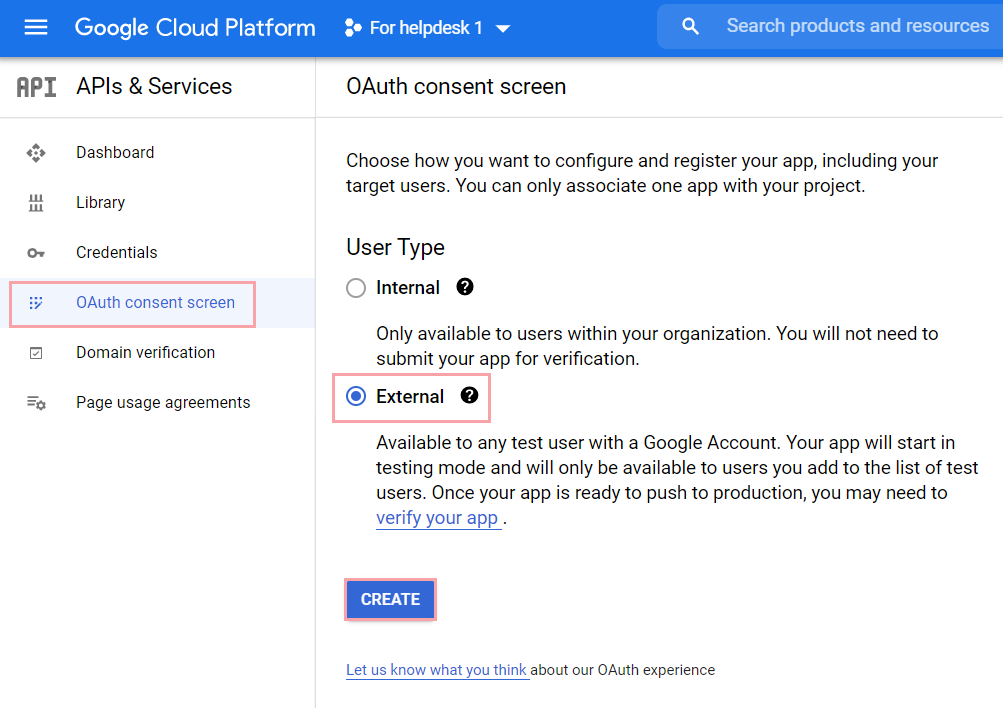
Note: You won't see the CONFIGURE CONSENT SCREEN button if you are using an existing project for which the credentials were generated previously. If you want to regenerate a new set of credentials for an existing project, start following from step no. 11. - You'll be redirected to the OAuth Consent Screen window. Select the External radio button and click the CREATE button:
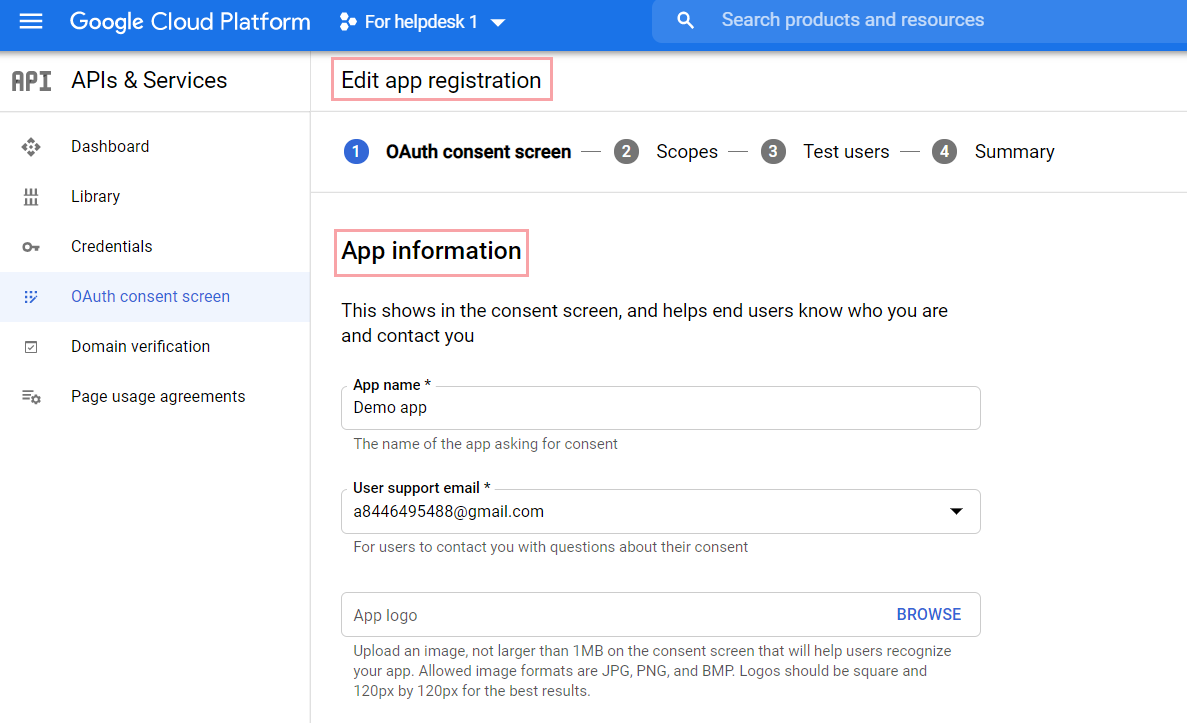
- Then, you'll be taken to the Edit app registration window. In the App information section, specify the app name and select your email address:
- Scroll down to the App domain section and specify
https://quickwork.coas a home page link in the Application home page field: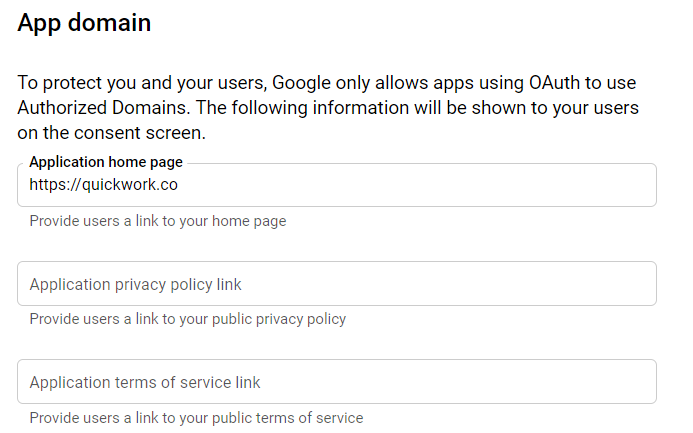
- Move to the Authorized domains section. Click the + ADD DOMAIN button and specify
quickwork.co. Then enter the developer’s email address in the Developer contact information field and click SAVE AND CONTINUE: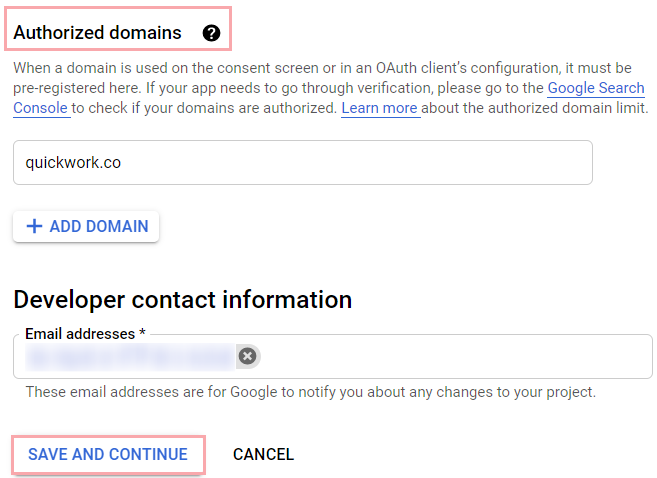
Note: Specify the same email address to get the developer access. If you specify another email address here, you need to ask for the developer's access to a consenting person to establish the connection. - The next step is to add scopes to the app. Click the ADD OR REMOVE SCOPES button under the Scopes section. A window containing a list of scopes will pop up from the right-hand side. Scroll down to the Manually add scopes section and enter the following two scopes using a comma separator:
1)https://www.googleapis.com/auth/gmail.send
2)https://www.googleapis.com/auth/gmail.readonly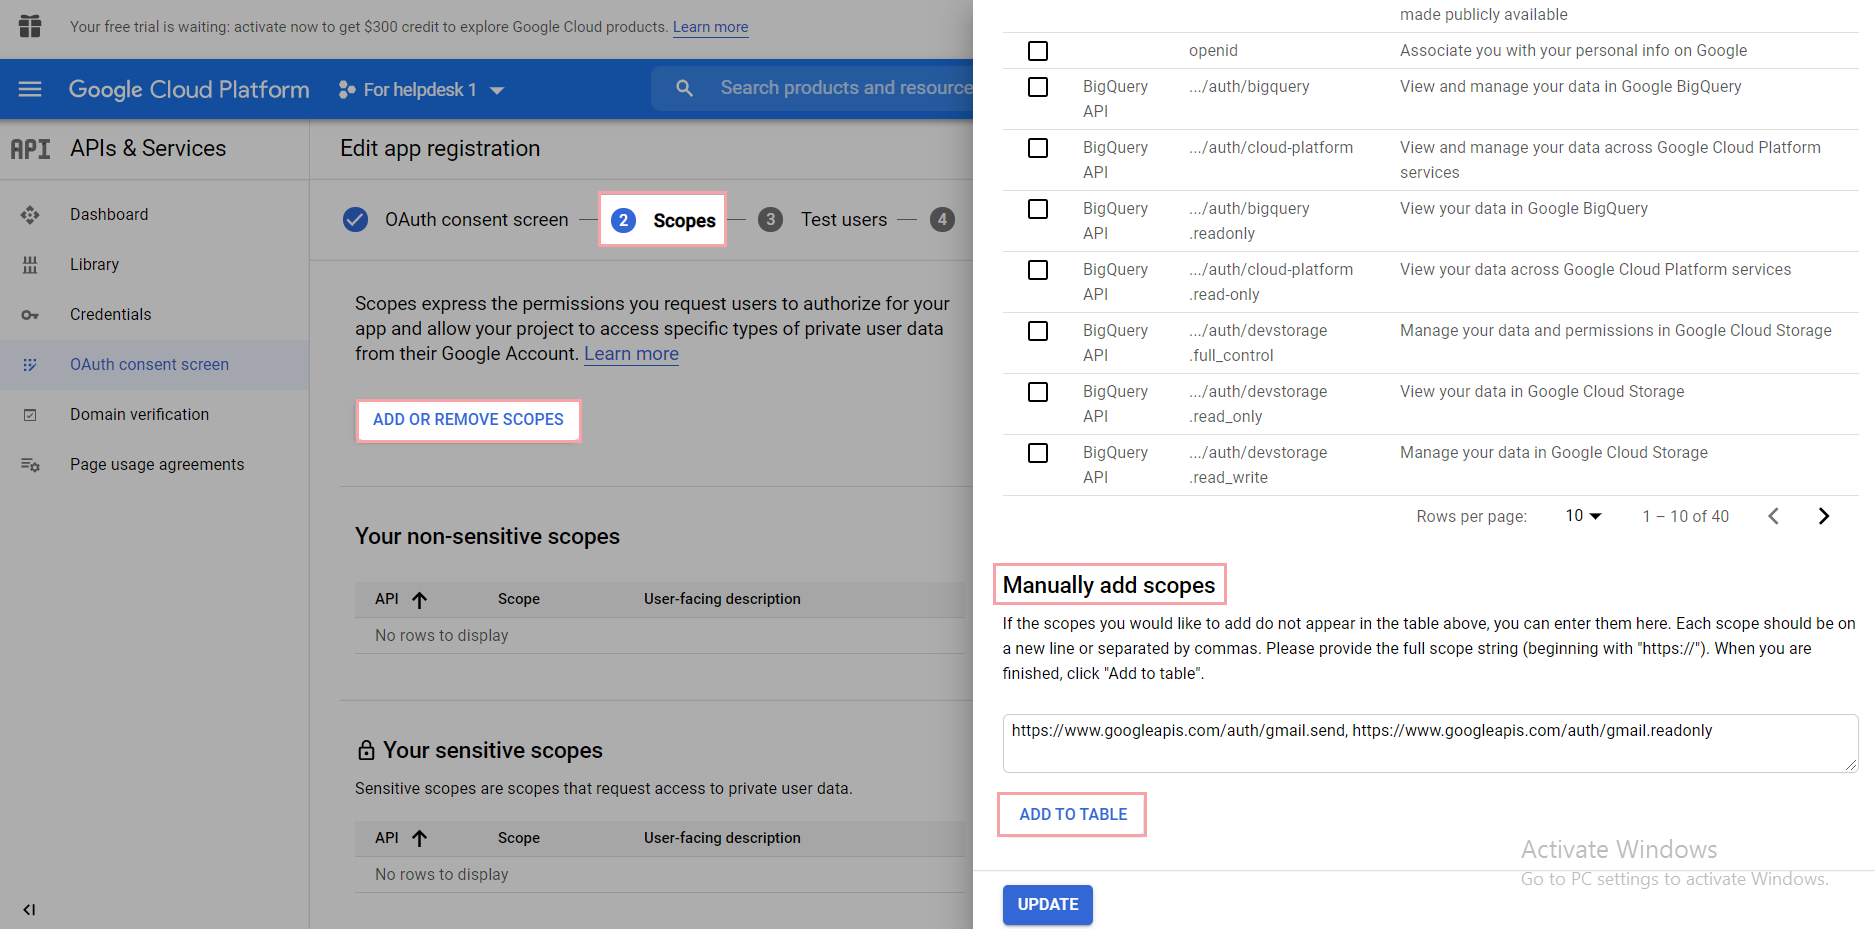
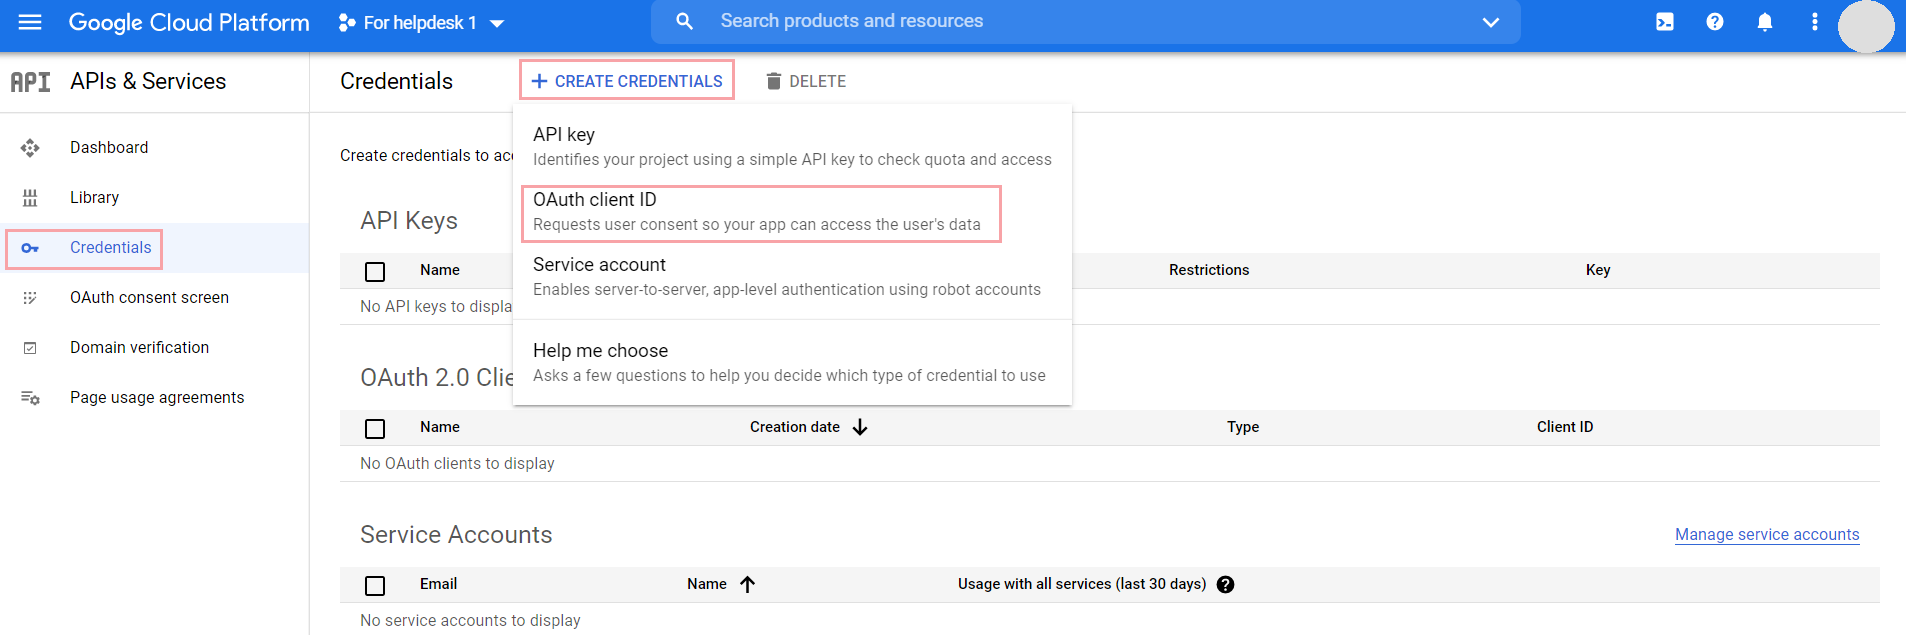
Then click the ADD TO TABLE option. You'll see that the added scopes have got selected by default. Click the UPDATE button to confirm the changes: - Now, click the Credentials tab on the left-hand side panel. Then, click the + CREATE CREDENTIALS and select the OAuth Client ID option from the drop-down menu:
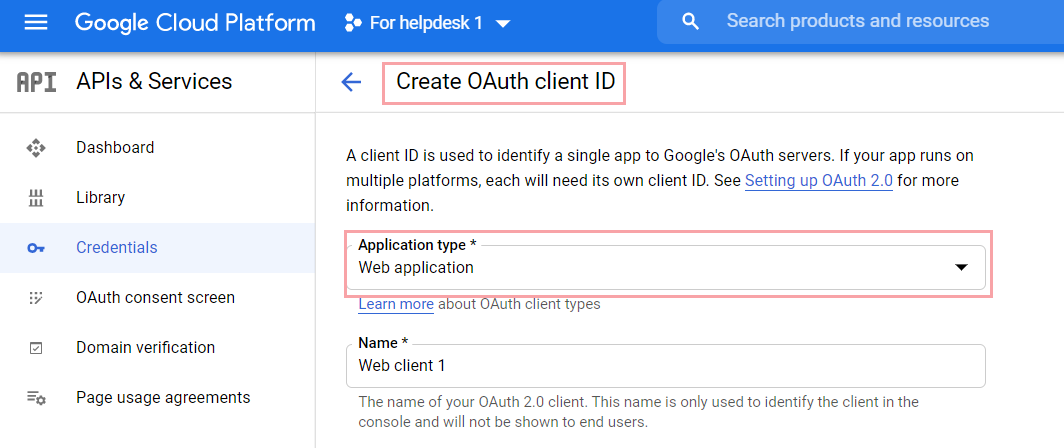
- You'll be redirected to the Create OAuth client ID window. Select Web application as Application type:
- Now scroll down the Authorized redirect URIs section. Click the + ADD URI button and paste the following URL:
https://automation.quickwork.co/workflow/api/connections/external/googleoauth/code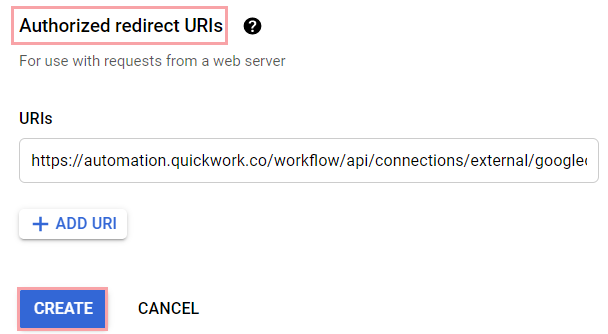
- Click the CREATE button. The OAuth client created window will pop up displaying the client ID and client secret of your Gmail account:

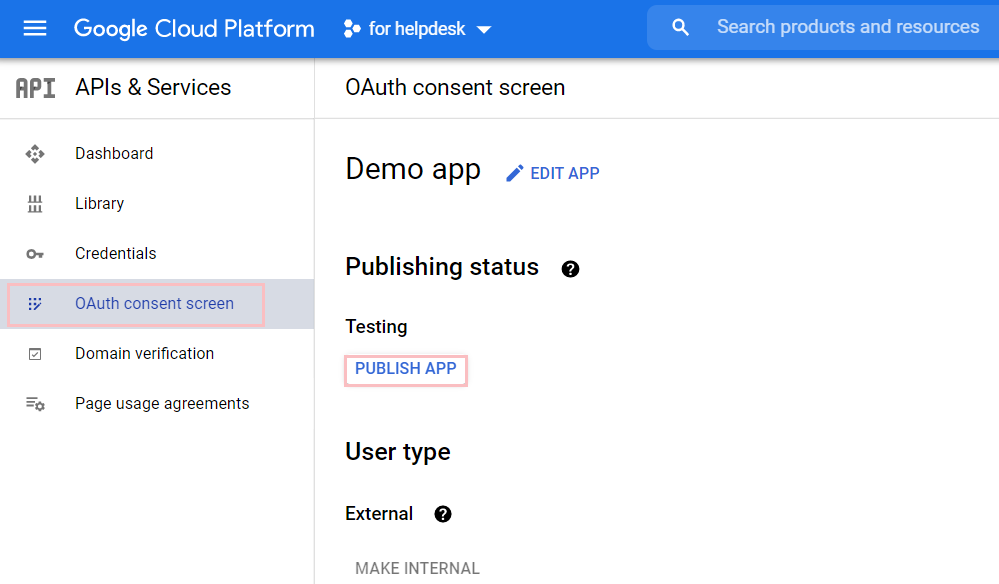
- It is mandatory to publish the app for which we got the credentials. To do so, click the OAuth consent screen option and click the PUBLISH APP button:
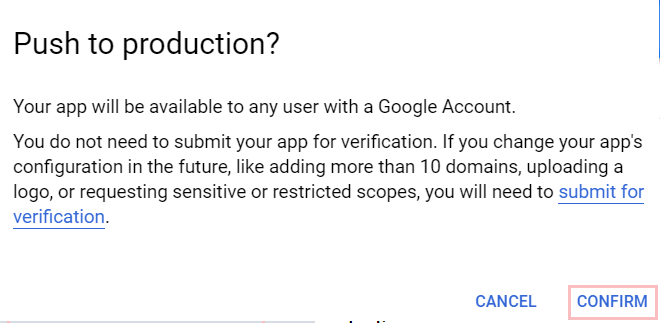
- The confirmation screen will pop up asking to push the app to the production environment. Click CONFIRM:
- Visit the Google Cloud Platform website. If you are visiting for the first time, agree to the terms and conditions to proceed.
- Now copy these keys generated and paste them into their respective input fields of the Connect to Gmail Secondary window:
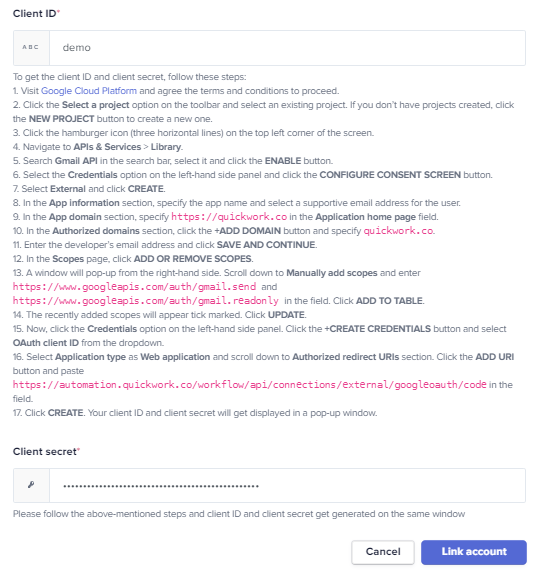
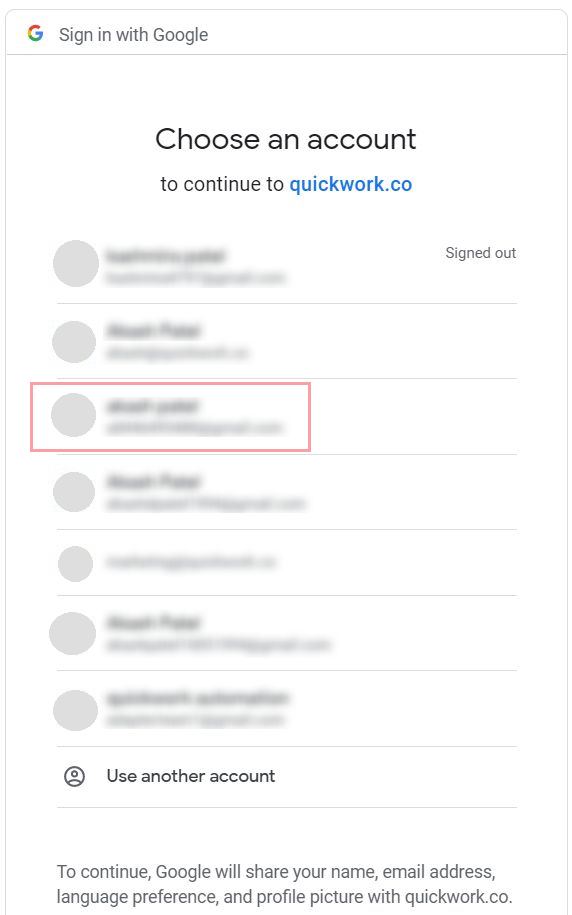
- Now click the Link account button. A window will pop up displaying a list of your Gmail accounts. Ensure you select the Gmail account for which you have obtained the client ID and client secret:
- Since the app is yet to be verified, you'll get the following screen:
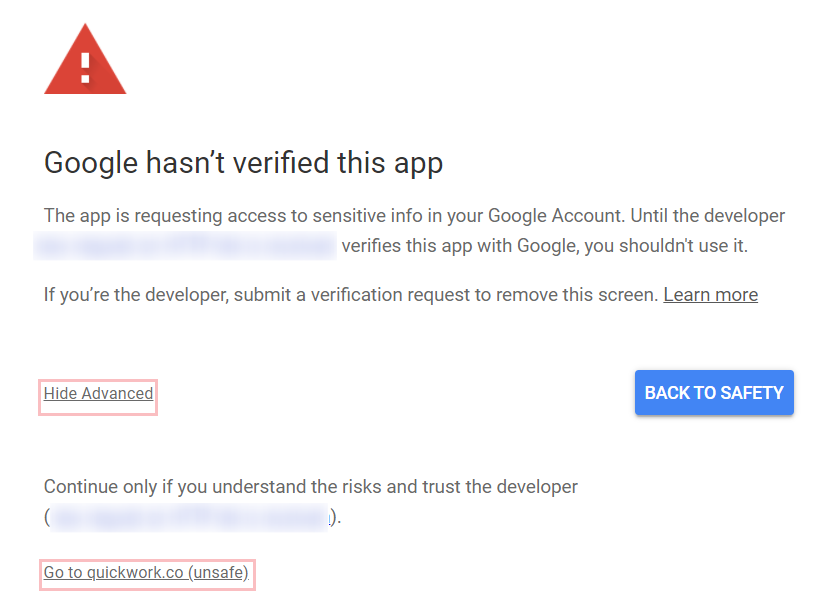
- Click the Advanced option and click the Go to quickwork.co (unsafe) option. The quickwork.co scopes confirmation window will open:

- Click Allow. Your Gmail account will get connected successfully.
Comments
0 comments
Please sign in to leave a comment.